Dermaplaning Tools: 9 Essentials Every Esthetician Needs
Last Updated: November 4, 2026
Quick Summary
The essential dermaplaning tools for a professional esthetician are sterile single-use blades in the sizes you use most, a reusable autoclavable handle, a dedicated sharps container at each station, and organized backup supplies. Size 10 and 10R blades suit facial contours, while Size 14 and 16 blades cover broader flat areas.
- Size 10 and 10R blades suit facial contours, the nose, lips and brows.
- Size 14 and 16 blades cover broader, flat areas more quickly.
- Reusable handles must be cleaned, dried and autoclaved per the manufacturer's instructions.
- Keep a sharps container within arm's reach of every treatment station.
- Run a spore test at least weekly to verify your autoclave is sterilizing.
Table of Contents
- Why Your Dermaplaning Tool Kit Matters for Consistent Results
- Choosing the Right Dermaplane Blades for Estheticians
- Handles, Scalpel Options and Illuminated Tools
- Stocking Professional Dermaplaning Supplies for Estheticians
- Dermaplaning Sanitation and Infection Control Practices
- Troubleshooting Common Tool-Related Problems
- Build Your Dermaplaning Kit and Book Your Training
- Frequently Asked Questions
Why Your Dermaplaning Tool Kit Matters for Consistent Results
Dermaplaning is a precise service, and the dermaplaning tools you choose shape every treatment you perform. SkinAct supplies the blades, handles and training that estheticians can use to build a consistent dermaplaning service.
Dermaplaning uses a sterile surgical blade held at a shallow angle to gently remove the top layer of dead skin and fine vellus hair.
A small, well-chosen kit is easier to manage than a large one full of overlapping tools. Start with the core items below, then add to them as your menu grows.
- Sterile, single-use blades in the sizes you use most
- A reusable, autoclavable handle that fits those blades
- A dedicated sharps container at every treatment station
- Clean, well-organized storage for backup supplies
Choosing the Right Dermaplane Blades for Estheticians
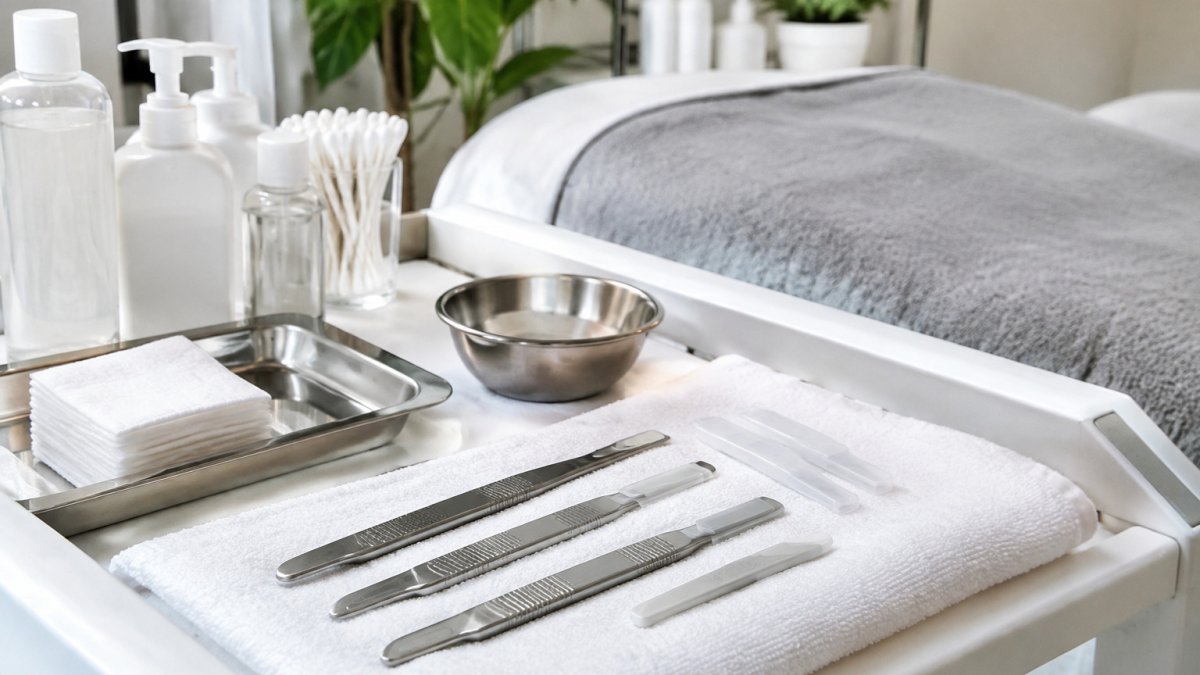
Blade choice is the decision that affects results most. Most dermaplaning blades follow a numbered system, and each size suits a different part of the face. Choosing the wrong size is a common reason for uneven results or extra passes.
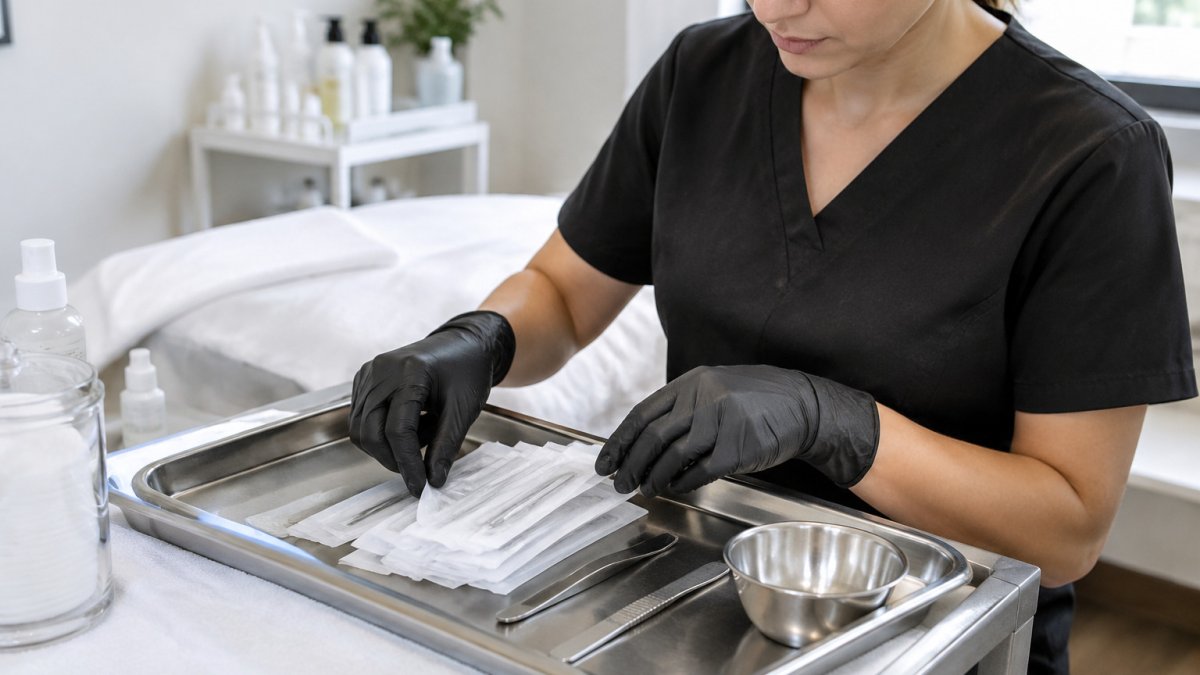
Use a smaller, more curved blade for detail work and a larger blade for open, flat areas. Keep at least two sizes on hand so you can switch without slowing a treatment.
Size 10 and Size 10R for Contour Work
The Size 10 is a versatile starting blade for most facial contours. The Swann Morton Dermaplane Sterile Stainless Steel Blade Size 10 comes as a 100-pack.

The Size 10R, often called a butter blade, has a shorter, rounded profile. It fits the nose, mouth and brow areas more easily.
For estheticians who prefer single-use scalpels, the Swann Morton Scalpels Size 10R Single-Use Disposable pack contains 10 sterile blades per box.
Best for: Estheticians who work mostly on facial contours, the nose, lips and brows. Skip if: You mainly treat large, flat areas and want fewer blade changes.
Size 14 and Size 16 for Broader Areas
Larger blades cover more skin quickly. The Swann Morton Dermaplane Sterile Blade Size 14, 100-pack, is built for face work and fits standard Size 3 handles. The Swann Morton Scalpels Size 14 Single-Use Disposable pack gives you 10 sterile, pre-mounted blades per box.
The Size 16 blade is the broadest option in this group. The Swann Morton Dermaplane Sterile Size 16, 100-pack, is a single-use stainless steel blade for dermaplaning.
Best for: Estheticians who treat broad, flat areas and want to move efficiently. Skip if: Your clients often have fine, detailed contours that a larger blade cannot follow.
Handles, Scalpel Options and Illuminated Tools
The handle controls your stroke. A handle that feels balanced in the hand is easier to control during a service.
The Swann Morton Size 3 Handle is a stainless steel option that fits standard Size 3 blades. It is reusable and autoclavable, so it fits into routine sterilization cycles.

The Lumohs Dermaplane MD No. 3 is a reusable, illuminating handle compatible with #10-style blades, including #10, #10D, #10R, #12 and #14.
If you use the illuminating handle, check that the blade style matches the handle before you buy.
Stocking Professional Dermaplaning Supplies for Estheticians
Consistent stock keeps your schedule on track. Running out of a blade size mid-week can force you to change your service plan on the spot.
Track your monthly use by blade size. A simple count from your appointment book shows which sizes you go through fastest. Order in bulk when your volume supports it.
Keep the following on your shelf:
- Two sizes of sterile blades you use most often
- One backup handle, so a damaged handle does not stop a treatment
- Sharps containers sized for your weekly volume
- Replacement batteries for illuminated handles
For ongoing training on blade technique and client assessment, the Dermaplaning for Estheticians online course covers skin analysis, blade handling and treatment decisions.
Dermaplaning for Estheticians: Skin Analysis, Blade Technique & Professional →
The article's blade and handle choices come down to a few core items, summarised below.
| Item | Value | Note |
|---|---|---|
| Size 10 blade | 100-pack | Versatile for most facial contours |
| Size 10R blade | 100-pack | Fits nose, mouth and brow areas |
| Size 14 blade | 100-pack | Built for face work, fits Size 3 handles |
| Size 16 blade | 100-pack | Broadest option for flat areas |
| Size 3 handle | Reusable | Stainless steel and autoclavable |
| Lumohs No. 3 handle | Replaceable battery | Illuminated, compatible with #10-style blades |
Dermaplaning Sanitation and Infection Control Practices
Dermaplaning uses a sharp implement on the face, so infection control is not optional. Every blade must be sterile, used once and disposed of immediately after use. Cleaning, disinfection and sterilization are three separate processes that apply to different parts of your kit.
Cleaning, Disinfection and Sterilization Are Not the Same
Cleaning removes visible soil and residue. Disinfection reduces pathogens on surfaces and non-critical items. Sterilization destroys all microbial life and is required for any reusable item that contacts broken skin. Your single-use blades are pre-sterilized by the manufacturer and never reprocessed. A reusable handle needs a documented reprocessing routine.
A common pattern in busy rooms is to wipe the handle with an EPA-registered disinfectant wipe and call it done. That is disinfection, not sterilization, and it is not sufficient for a handle that has been in contact with a client's skin during a service that can nick the surface.
Autoclave Parameters for Reusable Handles
Always defer to the handle manufacturer's IFU for the validated autoclave cycle, because the validated cycle is device-specific. Two operational details matter more than the numbers:
- Load configuration: Instruments must be cleaned and dried before loading, and hinged or ratcheted items should be opened so steam reaches all surfaces. Handles placed in a closed pouch without a drying step trap moisture and fail the cycle.
- Biological monitoring: A spore test (biological indicator) run at least weekly, and preferably with every load in a new practice, is the standard way to verify your autoclave is actually sterilizing (the CDC). Log the results. If a spore test fails, the load is not sterile and must be reprocessed after the autoclave is serviced.
Watch out: A handle that has been dropped, has a cracked grip, or shows pitting or rust cannot be reliably cleaned and should be retired, surface damage creates niches that steam cannot penetrate.
Sharps Containers: Sizing, Placement and Closure
Sharps containers should be closable, puncture-resistant, leakproof and labeled. Place a container within arm's reach of every treatment station so a used blade never travels across the room. Size the container to your weekly volume: a container that fills in a few days forces premature closure, and an oversized container that sits for months is a handling hazard. Close and replace the container when it reaches the fill line marked by the manufacturer, never tap down or shake contents to make room.
The Per-Client Sequence
- Wash hands and don clean gloves before setup
- Clean and disinfect the treatment surface and any non-critical items
- Confirm the blade pouch is intact and the sterility indicator has changed color
- Perform the service with a fresh, sterile blade
- Drop the used blade straight into the sharps container without recapping, bending or breaking it
- Remove gloves, wash hands, and reprocess the handle per its IFU before the next client
Check your state board and local health rules for sharps disposal requirements, since rules can vary by location. Reviewing both gives you a defensible written protocol.
Troubleshooting Common Tool-Related Problems
Most dermaplaning problems trace back to the tool, but the ones that cost you a client are the ones that happen mid-service. This section covers both: tool faults you can prevent before the appointment, and in-service complications you need a calm, practiced response for. Most guides stop at the tool list.
Tool Faults You Can Catch Before the Client Arrives
- Skin feels scratchy or snags: The blade may be dull or the angle too steep. Switch to a fresh blade of the same size and re-check your angle before continuing.
- Uneven results across the face: You may be using a blade that is too large for the contour. Try a smaller size on curved areas.
- Hand fatigue during long days: Check the handle grip and consider a wider, more balanced handle.
- Blade slips or feels loose: Confirm the blade is fully seated on the handle before you start. Discard and replace if it wobbles.
- Illuminated handle goes dark: Replace the battery cartridge before the next client.
A common mistake is reusing a blade to save money. A dull blade causes more irritation than the cost of a new one, and it makes an even result harder to achieve.
In-Service Complications and How to Respond
A nick or small cut. Stop the service immediately. Apply gentle pressure with a clean, dry gauze for a few minutes until bleeding stops.
Persistent redness or stinging during the service. Stop and assess.
A blade that drags despite being fresh. Check the skin prep. Skin that is not fully dry, or that still has cleanser or oil residue, causes the blade to skip.
Client reports burning after the service. This is usually a barrier issue rather than a blade issue. Review what was applied post-treatment, confirm the client avoided actives for 24 hours, and follow up the next day.
Build a Written Complication Protocol
Your state board expects a written infection-control plan; pair it with a short complication protocol that names who does what when a nick or reaction occurs. Keep a small incident log with date, service, blade lot, what happened and what you did. A log is not paperwork for its own sake, it is how you spot a pattern, such as one blade lot that snags more than others, before it becomes a reputation problem.
Build Your Dermaplaning Kit and Book Your Training
A strong dermaplaning kit starts with the basics: two blade sizes, one reliable handle, sharps disposal and a clear infection control routine. Add the illuminated handle or scalpel options once your service menu and volume justify them.
Pair your kit with training. Knowing how to hold the blade, read the skin and decide when to stop makes the tools far more effective.
Browse the full dermaplaning tools category on the SkinAct site to assemble your kit.
Frequently Asked Questions
What do professional estheticians use for dermaplaning?
Most professional estheticians use a sterile, single-use surgical blade mounted on a reusable stainless steel handle. Size 10 and Size 10R blades suit contours around the nose, mouth and brows, while Size 14 and Size 16 blades are often chosen for larger areas of the forehead and cheeks. SkinAct carries Swann Morton blades in these sizes, with 100-pack boxes priced from $50.99 to $59.99, plus a Size 3 handle at $13.99. Matching blade size to the treatment area keeps technique consistent and reduces the number of passes needed.
Can a basic esthetician do dermaplaning?
Check your state board's rules on scope of practice before offering dermaplaning. Training matters because blade handling, skin assessment and knowing when to skip an area all affect safety. SkinAct's online dermaplaning course, priced at $159.00, covers skin analysis and blade technique.
How do estheticians choose dermaplaning blades?
Estheticians usually choose blades based on the area being treated, the blade profile and the handle they already own. Size 10R, sometimes called a butter blade, has a shorter rounded tip for the nose, mouth and brows. Size 14 and Size 16 blades cover broader facial zones. Confirm the blade fits your Size 3 handle before buying in bulk, and stock enough boxes to avoid running out between appointments.
Where should dermaplaning tools be cleaned and stored between clients?
Single-use blades should be discarded in a sharps container immediately after each client and never reused. Reusable stainless steel handles should be cleaned, dried and sterilized according to the manufacturer's instructions. Store sterile blades in their sealed packaging in a dry, clean cabinet away from the treatment bed, and keep handles in a covered tray so they stay protected between clients.